

In the automotive industry, the product finder widget is easily the best way to find the exact parts you need. Shoppers love this feature, but are you using it correctly? Could you be getting better engagement from your visitors by making a few minor adjustments to how your automotive parts finder works?
Let’s explore a few best practices to ensure that yours is working the way your shoppers expect it to.
1) Location of the automotive parts finder
The location of the parts finder is incredibly important, but a lot of automotive sites get this wrong. Where should your product finder be located?
The simple answer is that it should be everywhere. The product finder will only be helpful if your visitors can actually find it. Many auto sites are making the mistake of placing it only on specific pages.
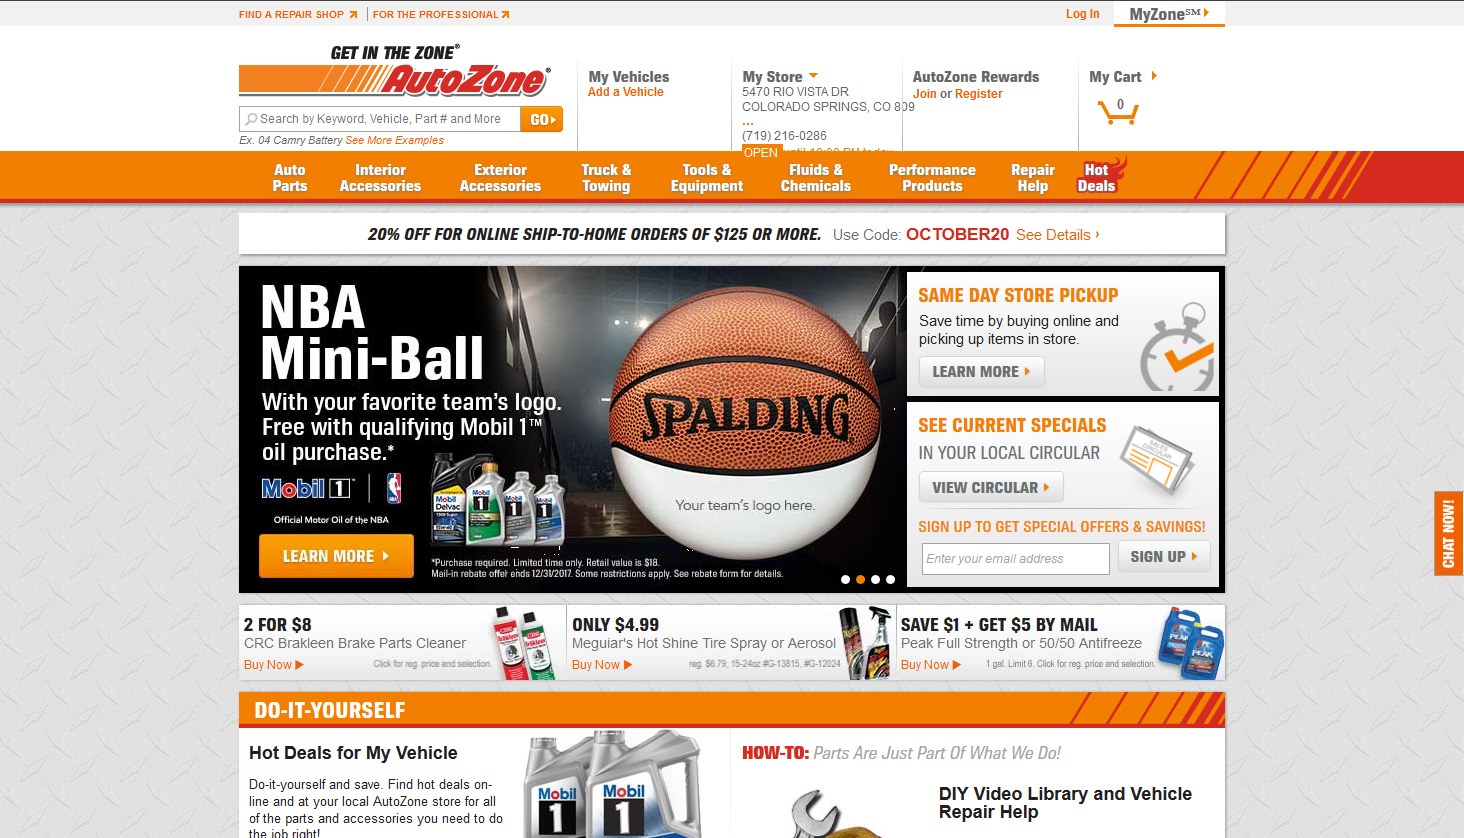
Autozone, for example, doesn’t have a product finder anywhere on their home page. Suppose you wanted to find a headlight assembly for an Audi A4. How would you go about doing that?
You could search, or browse through the categories. However, both of those options are likely to result in pages that require further refinement.
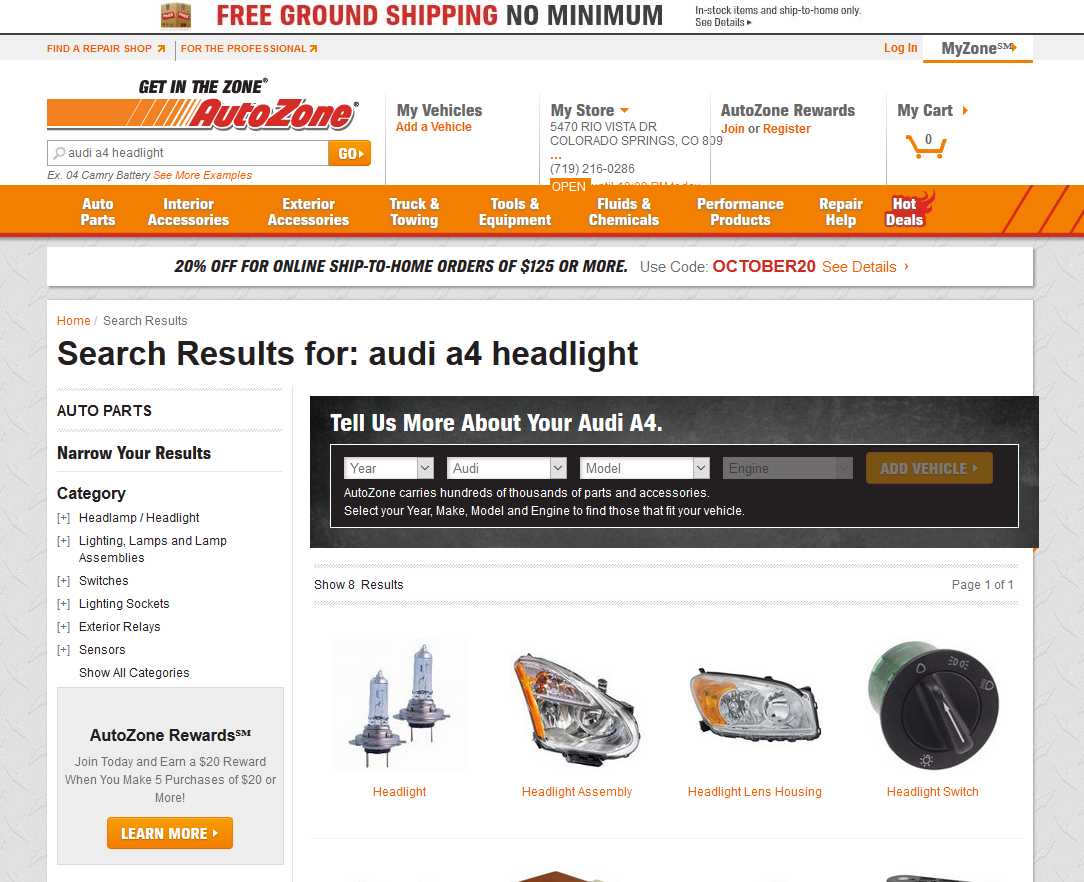
As a matter of fact, Autozone does return a helpful page with a form of guided selling. The fact remains, though, that further refinements are needed to find what we need. We will either have to browse using one of the categories in the left sidebar, or by clicking one of the images in the center of the page.
This page does actually display the year/make/model finder that we really want, though. But wouldn’t it have been much easier to use this tool if it was on the home page? Rather than seeing the confusing and redundant options available here, I could have used this on the home page and been taken directly to a more relevant set of products.
Unfortunately for Autozone, after making a selection in the product finder pictured above, very little on the page updates.
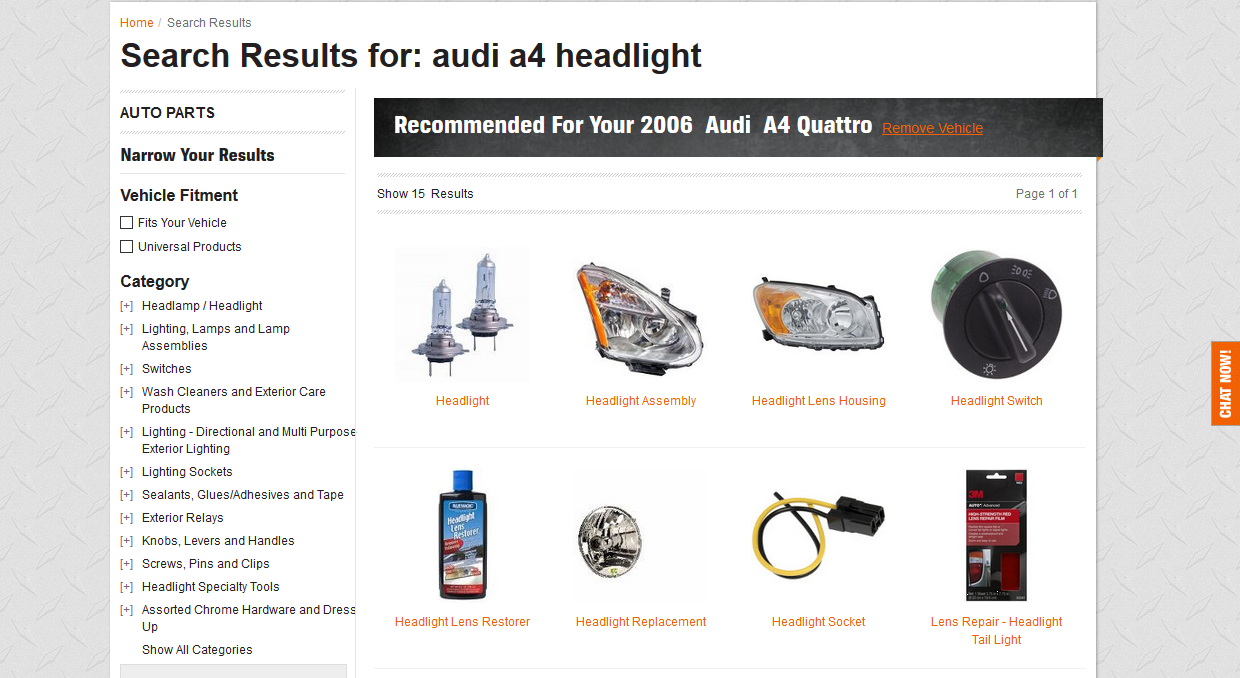
This strange behavior confuses shoppers. Many of them might think that the feature isn’t working at all. This is because there’s little visual confirmation in the products that are shown. This is likely to happen to visitors on others sites where the parts finder is introduced in the middle of the session rather than at the beginning.
By placing the parts finder in the header, we can determine accurately what vehicle the visitor is shopping for early in the process. This also means that we don’t have to rely on the user’s spelling. We also don’t have to rely in their providing all of the details necessary. If, for example, the user types “A4 headlight” we know the model and a broad category. However, we don’t know the make or the year.
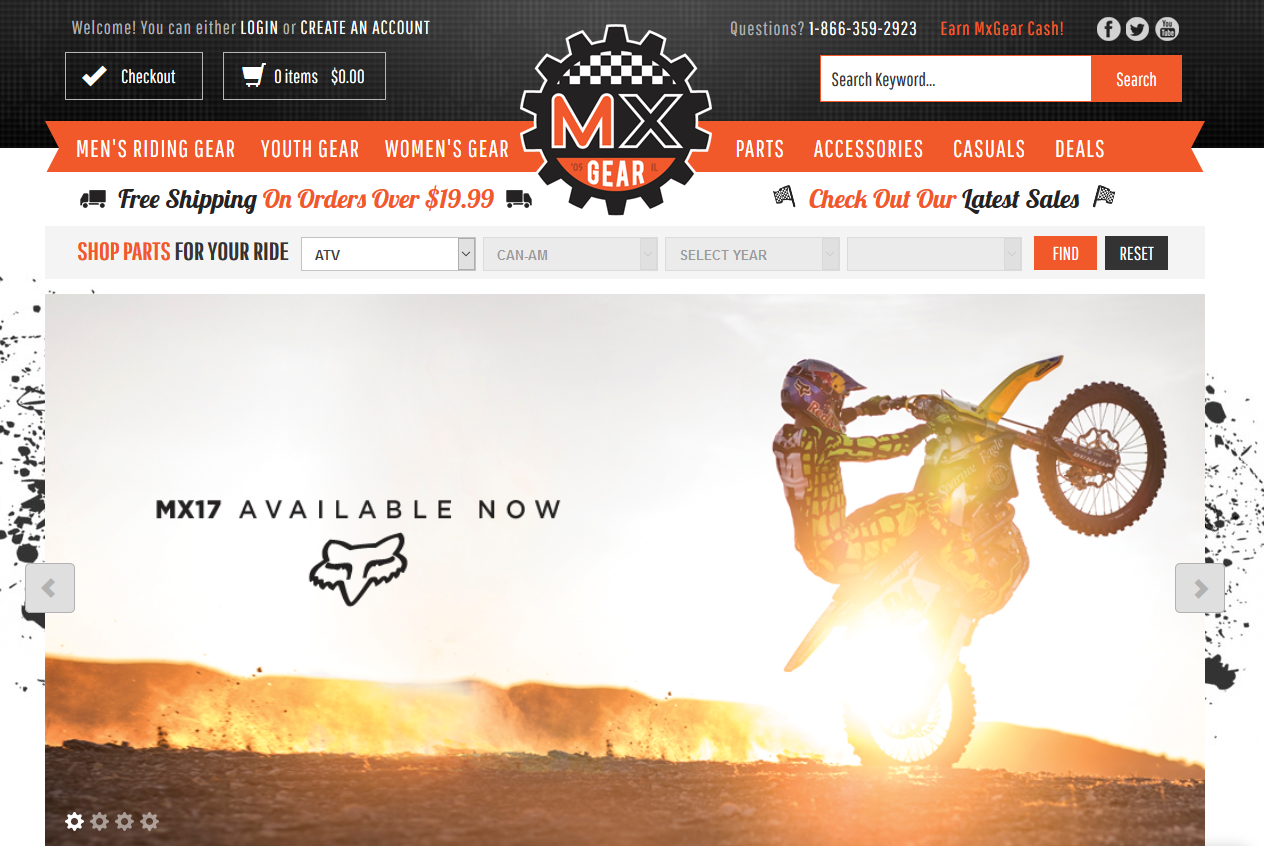
MXGear places the product finder front and center on the home page. Their setup is slightly different since they sell parts for various types of vehicles. But the concept is solid. Here, they ask for the type of vehicle, the make, the year, and then the model.
Once the shopper clicks “find”, they can select exactly what they need for their vehicle.
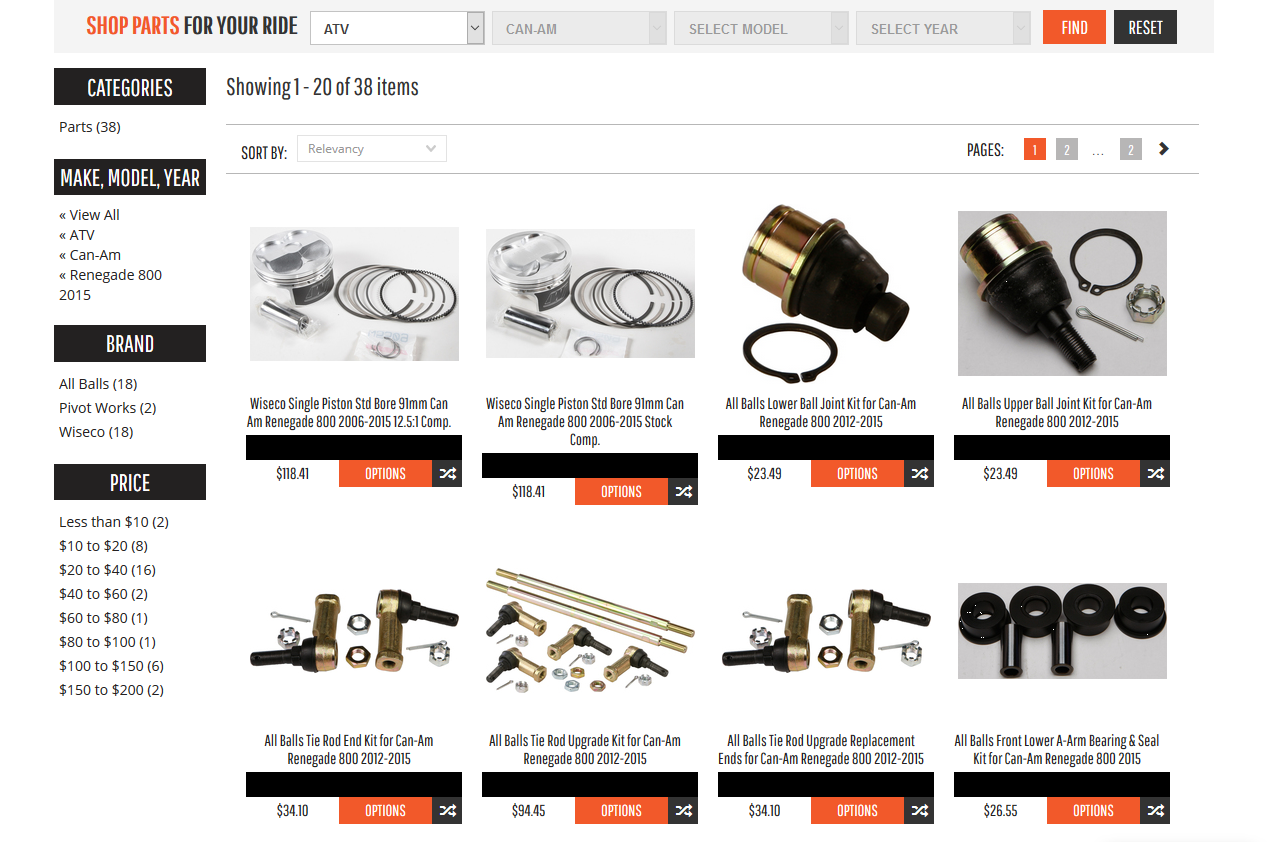
Along the left side, they have controls to filter down to the specific type of part that they need. Granted, this setup works great for MXGear because they don’t sell parts in dozens of categories. Regardless, for ecommerce UX best practices, placing this feature in the header where it will be available on every page allows you to gather more information about the customer’s needs early on, and in our testing does increase conversion rates in sessions where these finders are used.


